Last week Friday my boyfriend was invested into the Scouts.Basically into the adult version of the Scouts.To celebrate this I made Campfire Cupcakes for all the other Scouts.

Stoking the Fire
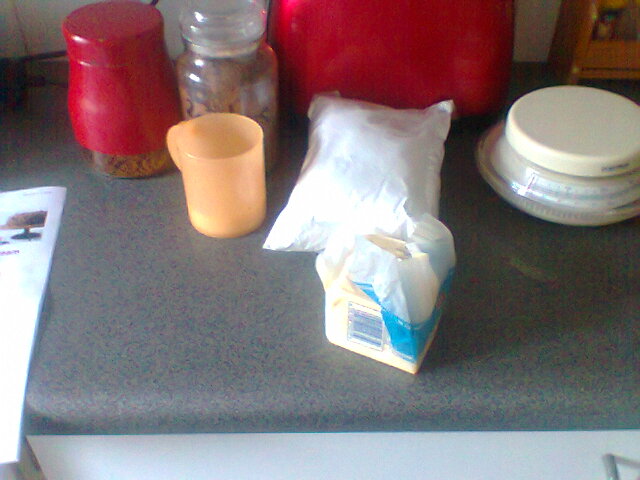
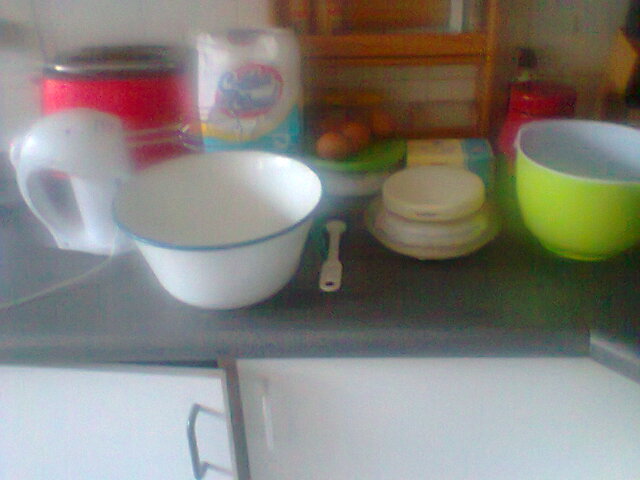
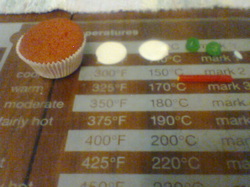
The equipment that I used:
- Cupcake
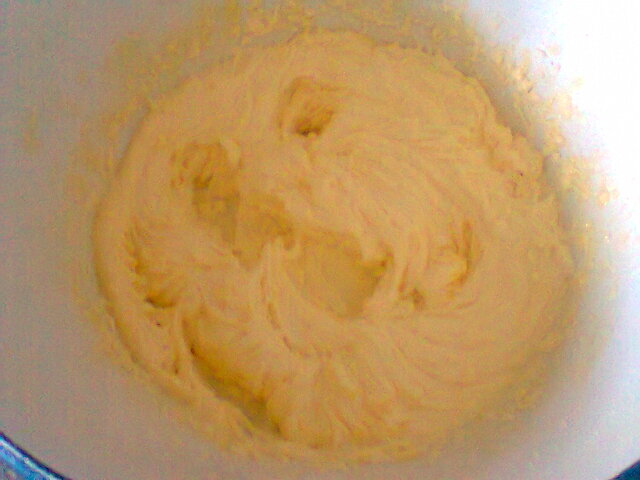
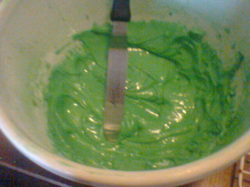
- Piping bag with icing
- Sugar cubes covered in black gel food colouring
- Black liquorice
- Red sour liquorice
Having a grassing good time
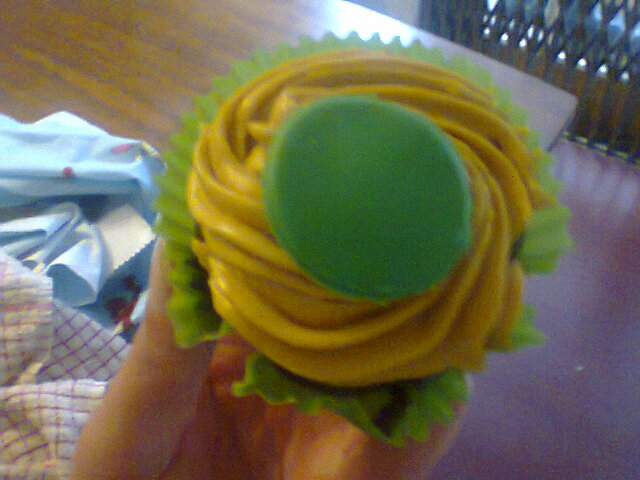
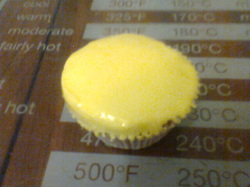
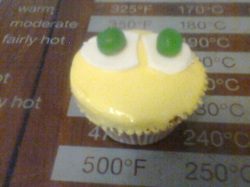
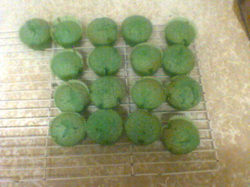
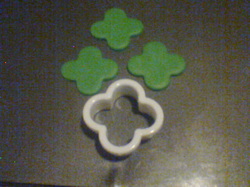
Step 1: Using the piping bag pipe a simple swirl onto the cupcake and put a pre-cut circle of green fondant onto the middle of the cupcake.
Start stacking the coal
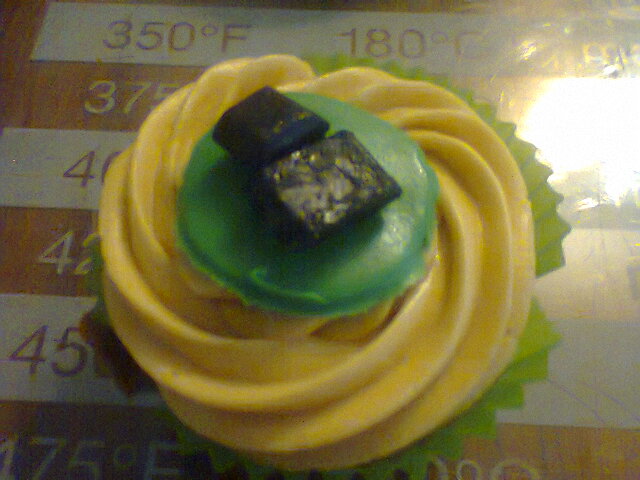
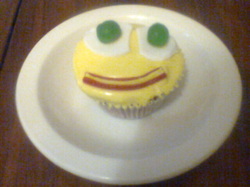
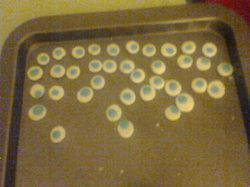
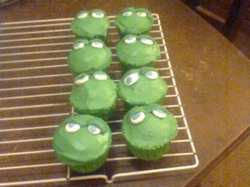
Step 2: Place two sugar cubes onto the green circle just like charcoal.
Light the fire
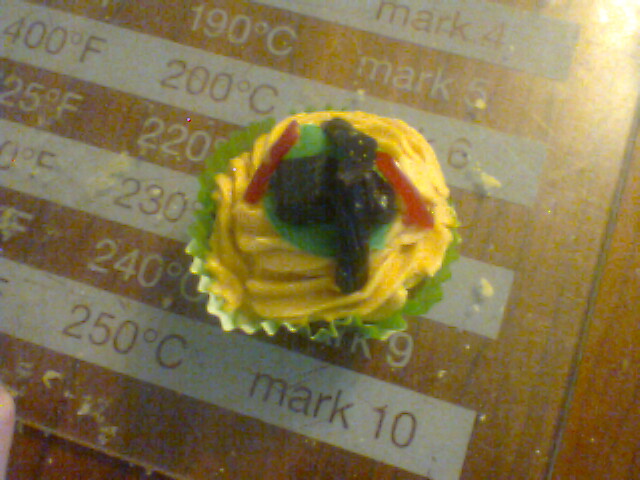
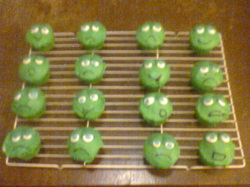
Step 3: Place two red and two black liquorices on opposite sides. The red looking like flames and the black looking like logs.
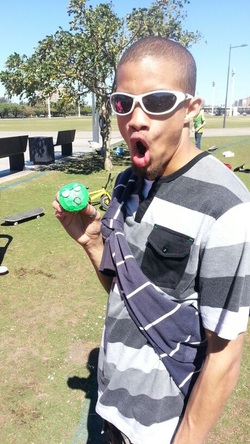
Step 4: Hand out the cupcakes and let them enjoy. When I came back to pick up my boyfriend the cupcakes were devoured.


 RSS Feed
